Technical guides
How to Crimp a Hose Assembly Without Relying on Luck
Cut-off factor, blade choice, cleanliness, insertion depth and crimp tolerance: the five steps that decide whether an assembly holds its rated pressure.
An assembly that fails usually fails at the crimp, not in the hose itself. The process below is the one we run, and each step exists because skipping it produces a failure that appears later at the customer.
1. Design before you cut
Size, temperature rating, material, pressure rating, end configuration and delivery requirements are decided before anything is cut. Getting one of them wrong means the assembly does not perform as intended, or fails outright.
2. Choose the blade to match the hose
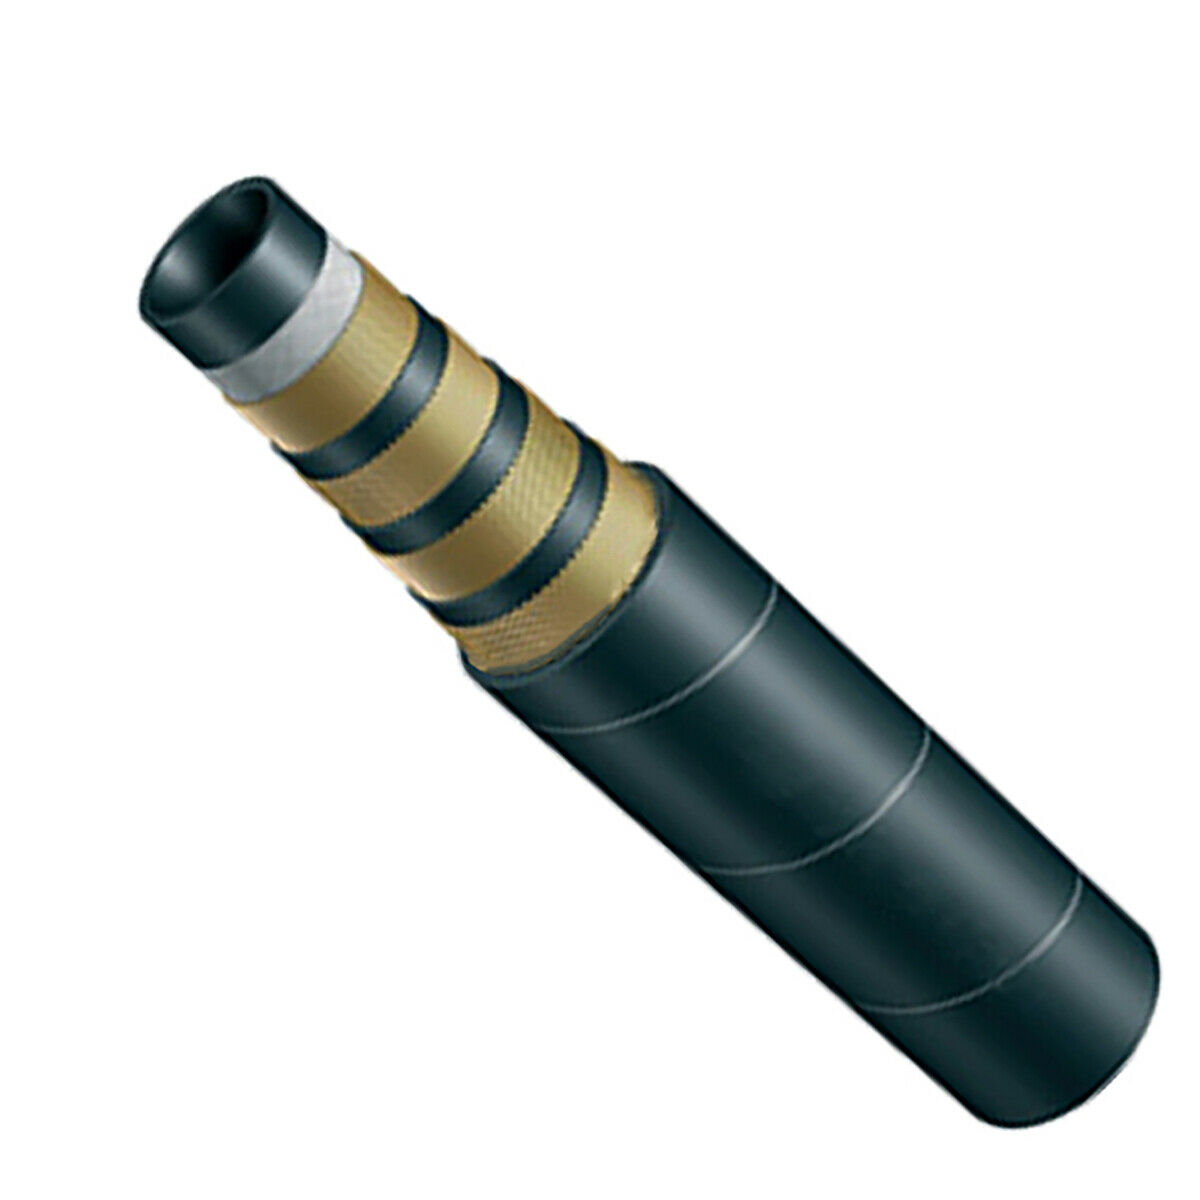
One and two wire braided hose, and four spiral hose up to 1-1/4 inch bore, are best cut with a high speed splitting saw, which slices without removing material. Larger four and six wire hose are cut with an abrasive saw, which does remove material, is dusty, and needs proper ventilation and extra cleaning before assembly.
Stainless braided PTFE hose, thermoplastic hose, air brake tubing and suction hose need their own handling. A suction hose with a helical wire needs part of that wire removed after cutting. Whatever the hose, the cut must be straight and flush: an angled cut stops the barb or ferrule biting into the hose properly.
3. Decide overall length or cut length first
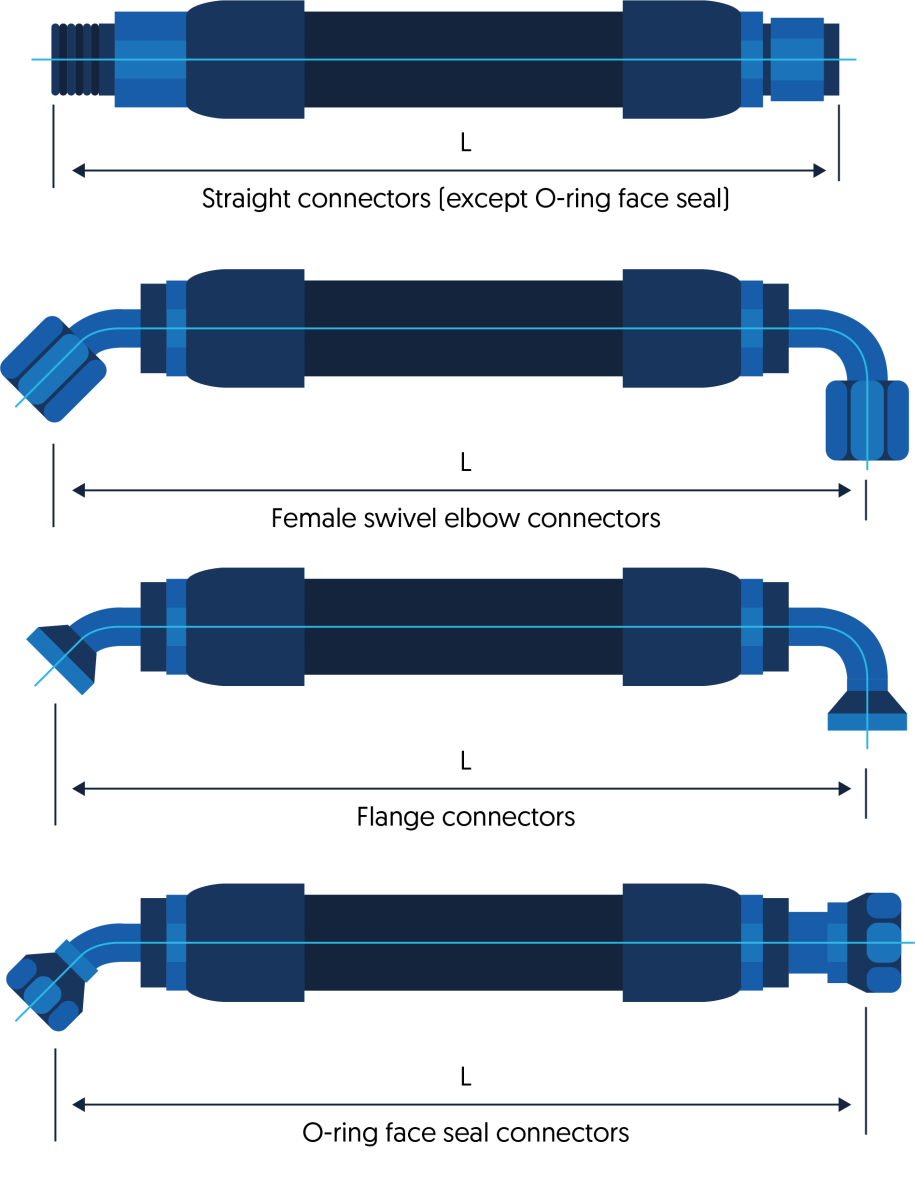
Every hose end has a cut-off factor: the length you subtract from the hose so that the finished assembly comes out at the length you asked for. Decide whether your length is the overall length including both ends, or the cut length of the hose before the ends are added. Then apply the cut-off factor for the fittings you chose.
4. Clean before you assemble
Cutting leaves contamination inside the tube. Our basic cleanliness standard is ISO 19/7/14, reached with filtered air, clean projectiles, air-blown brushes or a combination of them, and higher standards are available on request. Contaminated oil costs system performance and, in the worst case, causes a hydraulic failure. If the hose was cut with an abrasive saw, or the cover was skived, extra cleaning is mandatory.
5. Insert fully, then crimp to tolerance
Mark the insertion depth on the hose before assembly. After crimping, the ferrule should partly cover that mark, which proves the hose end was fully inserted. Some hose ends push in by hand; others need a clean lubricant or mechanical assistance. What must not happen is a partial insertion with contamination pushed into the assembly.
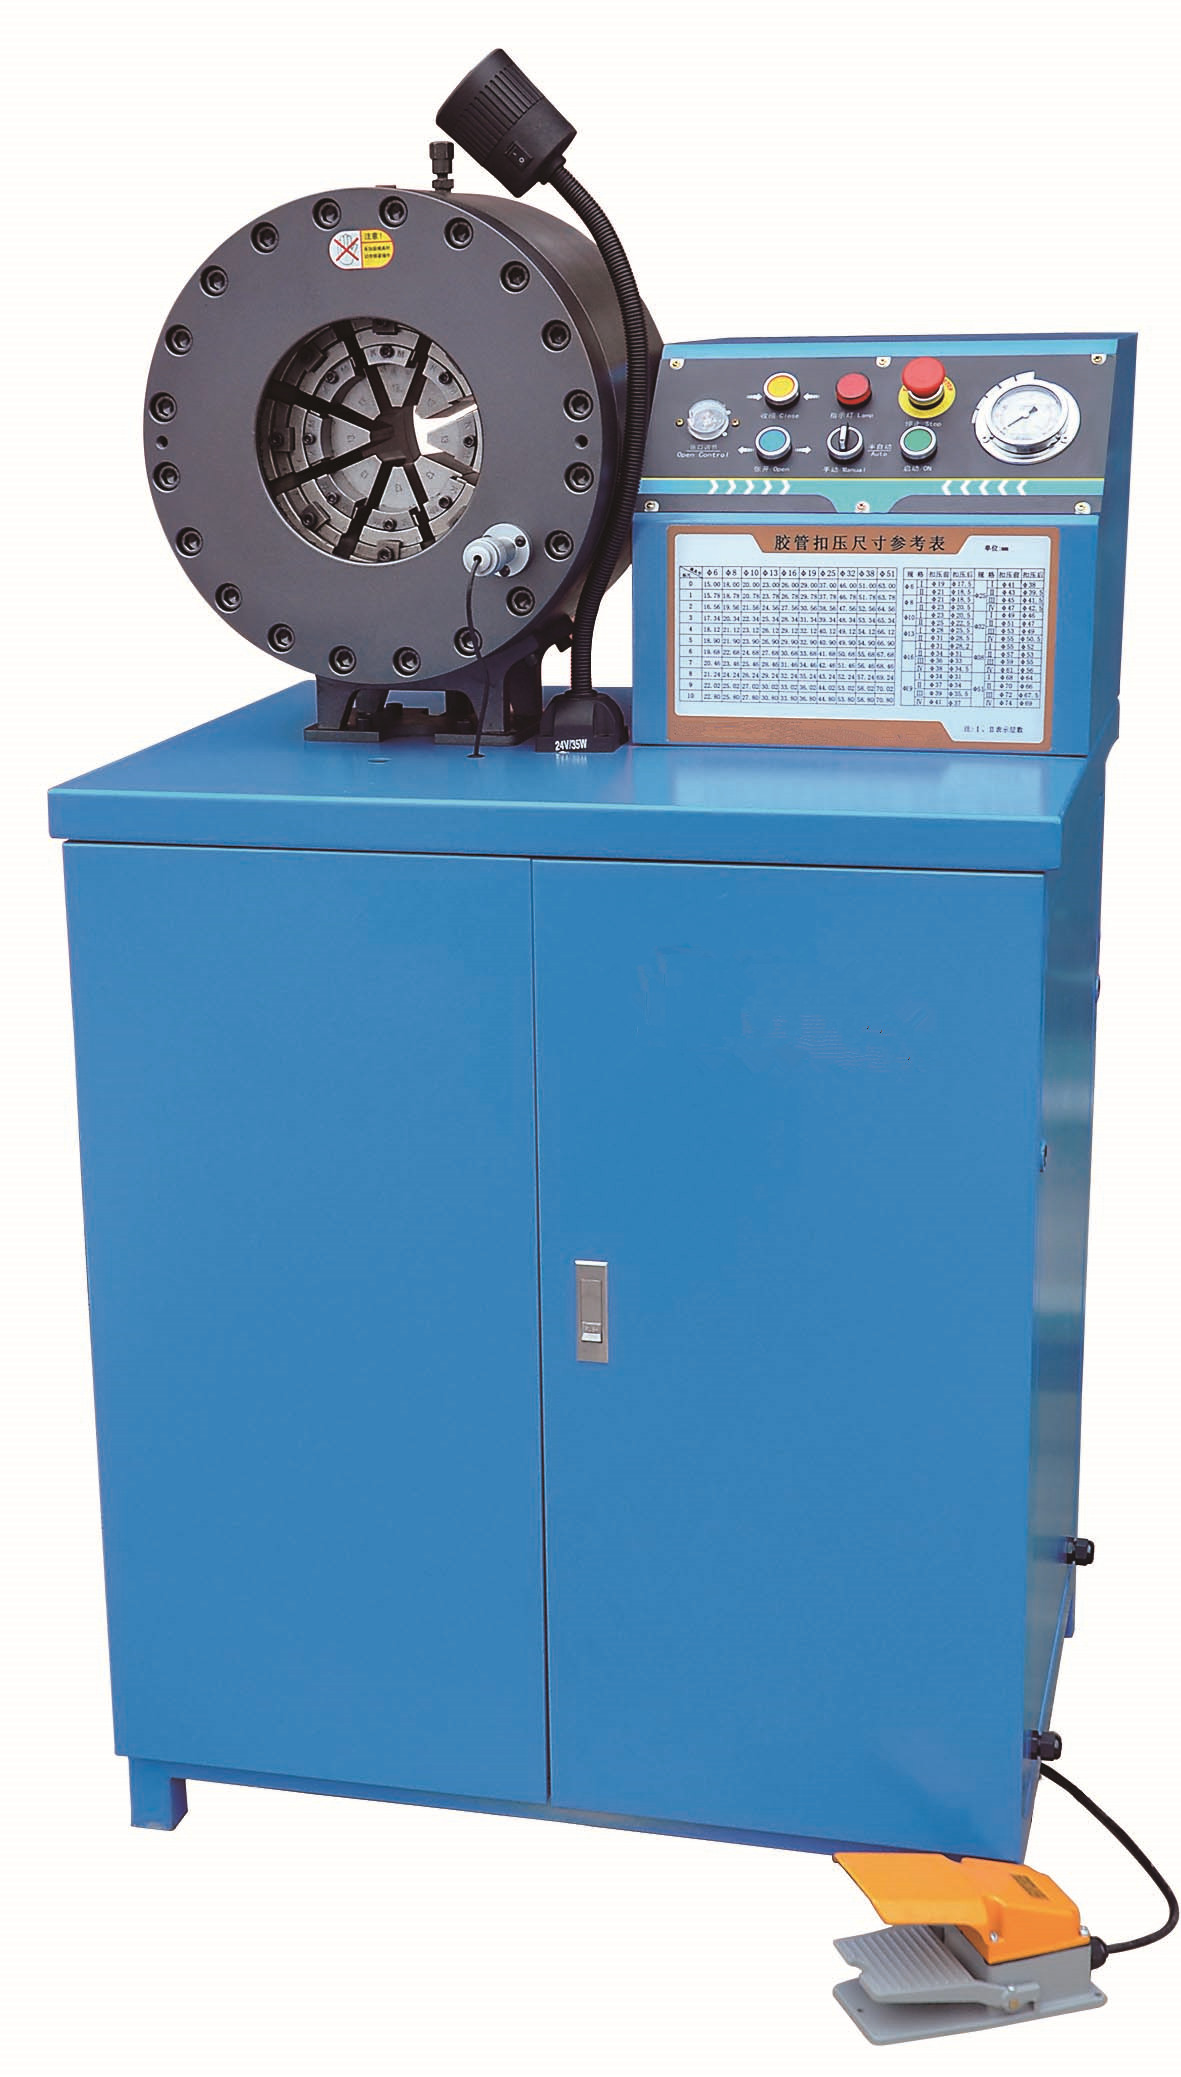
Crimping compresses the ferrule around the outside diameter of the hose to a specified diameter. The specification is unique to each hose and fitting combination and is measured in thousandths. A common published tolerance is plus or minus 0.008 inch. We measure the crimped ferrule through the run rather than only on the first and last piece.
6. Finish and inspect
After crimping the assembly may take an abrasion resistant sleeve, a protective wrap or a wire guard. Then it gets a final inspection against the checklist for every step, with the operator recorded and any required test or certificate completed. A second insertion mark in a different colour confirms the first mark was correct and the crimp is right.
Packing to the customer's requirement comes last, and it varies enough to deserve its own article. If you would rather not build assemblies in house, we produce them to your drawing or sample.